

Setup and Connect to a VPS using Windows Terminal (with SSH Keys)


Prerequisites
- Windows Terminal
- OpenSSH - Get started with OpenSSH
- A Virtual Private Server or a Virtual Machine running Debian
Connecting to the VPS for the First Time
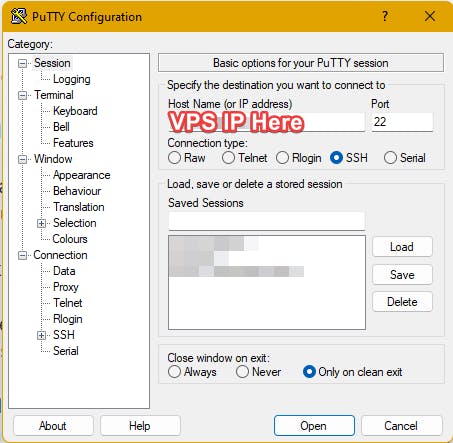
Make sure auto login name is empty
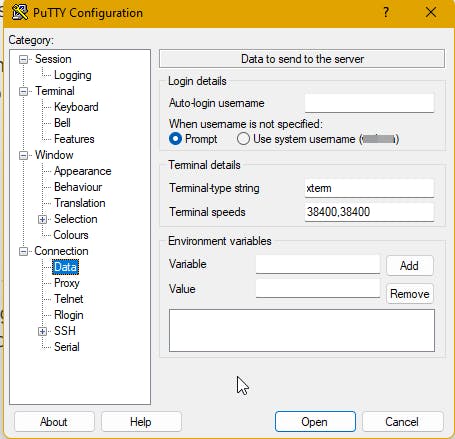
Click open to connect, to the server, login as root
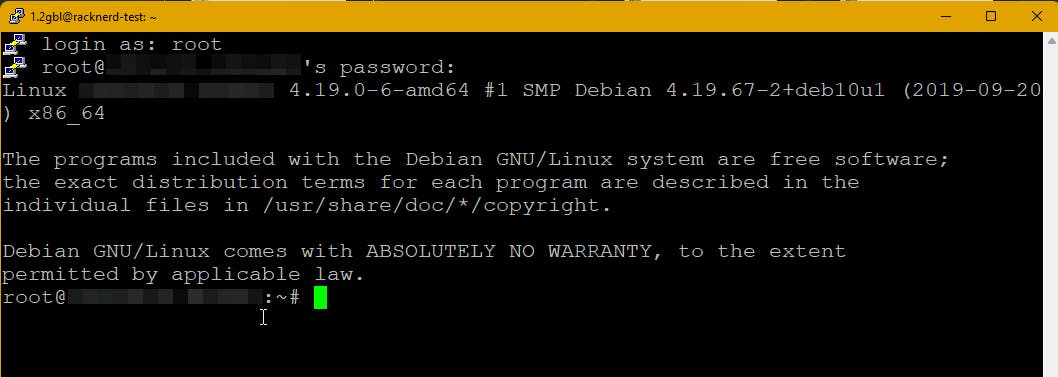
Initial Server Setup
Create a new user and Grant access
It is not a good practice to use the root account apart from the initial server setup, so we create a new user, and give it appropriate access.
adduser newUser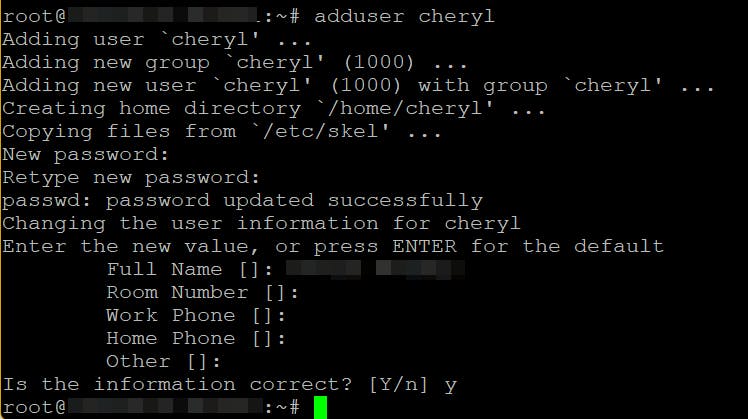
Update package repositories
apt update apt upgrade -y- (if sudo is not installed) Install sudo, and add the new user to the sudo group.
newUser is then put into the sudo group which members are allowed to use the sudo command in Debian
apt install sudo -y
usermod -aG sudo newUser
Setup firewall (ufw)
apt install ufwcheck available profiles using the following command
ufw app listOpenSSH should be on the list. It should come preinstalled on Debian 10. If not, check out Enable SSH Server on Debian 11
Then, allow traffic to and from OpenSSH
ufw allow OpenSSHEnable the firewall
ufw enablecheck the firewall status
ufw status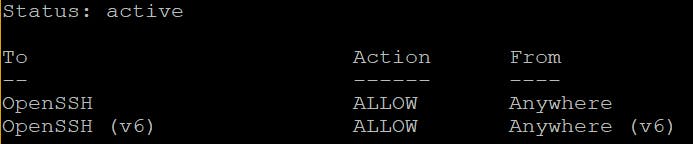 This confirms the firewall is on and allowing traffic to and from OpenSSH
(Optional) Top 8 Things to do after Installing Debian 10 (Buster)
Connecting to the SSH Server using SSH Keys
It is safer, faster and more convenient connecting to the server using SSH keys, as it's passwordless. A key pair is created by the user and the public key is stored the server while the private key is stored on the client (usually in the form of a file). Client then send the server the private key for authentication. The server will allow access to anyone with the right private key.
Generate the key pair on the client (your computer) In windows powershell
ssh-keygen Specify path and filename (.ssh in the home directory and id_rsa is the default path and filename respectively)
Enter a passphrase (highly recommended for security). If a passphrase is set, you'll be required to enter this for authentication.
 Now the key pair is generated and saved in the directory specified.
Copy the public key (the generated file with .pub extension) to the server
In Windows Powershell, if /.ssh directory already exist in the user home directory. use this command to copy the public key to the server, replacing the filename, username, and server IP.
cat ~/.ssh/key-filename.pub | ssh newUser@123.45.6.7 "cat >> ~/.ssh/authorized_keys"Otherwise, if .ssh directory does not already exist, use the following
cat ~/.ssh/key-filename.pub | ssh newUser@123.45.6.7 "mkdir ~/.ssh; cat >> ~/.ssh/authorized_keys"Enter 'yes' to "Are you sure you want to continue connecting?" and the user password to continue.
- If everything is setup correctly, we should be able to SSH into the server using the follow command. Enter the pass phrase set up earlier
ssh newUser@123.45.6.7 -p 22 -i ~/.ssh/<filename> - (optional) To connect to the server without having to specify the identity file every time, edit /.ssh/config, add the following entry for the VPS. Using the same username, VPS IP and filename used above. "Host" can be anything descriptive
Host 123.45.6.7 (newUser) HostName 123.45.6.7 User newUser IdentityFile ~/.ssh/<filename>ssh newUser@123.45.6.7
Setting up shortcut on Windows Terminal
Go to settings in windows terminal
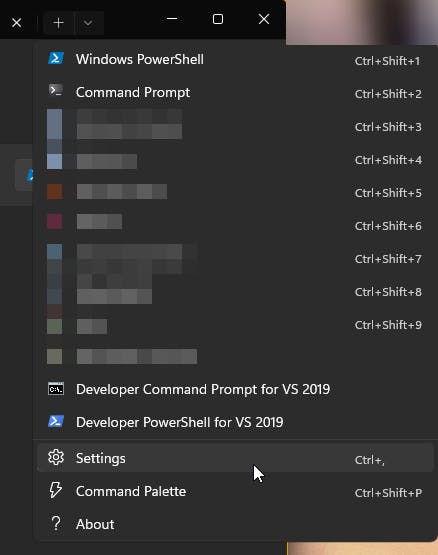
Add a new profile, "+ New empty profile"
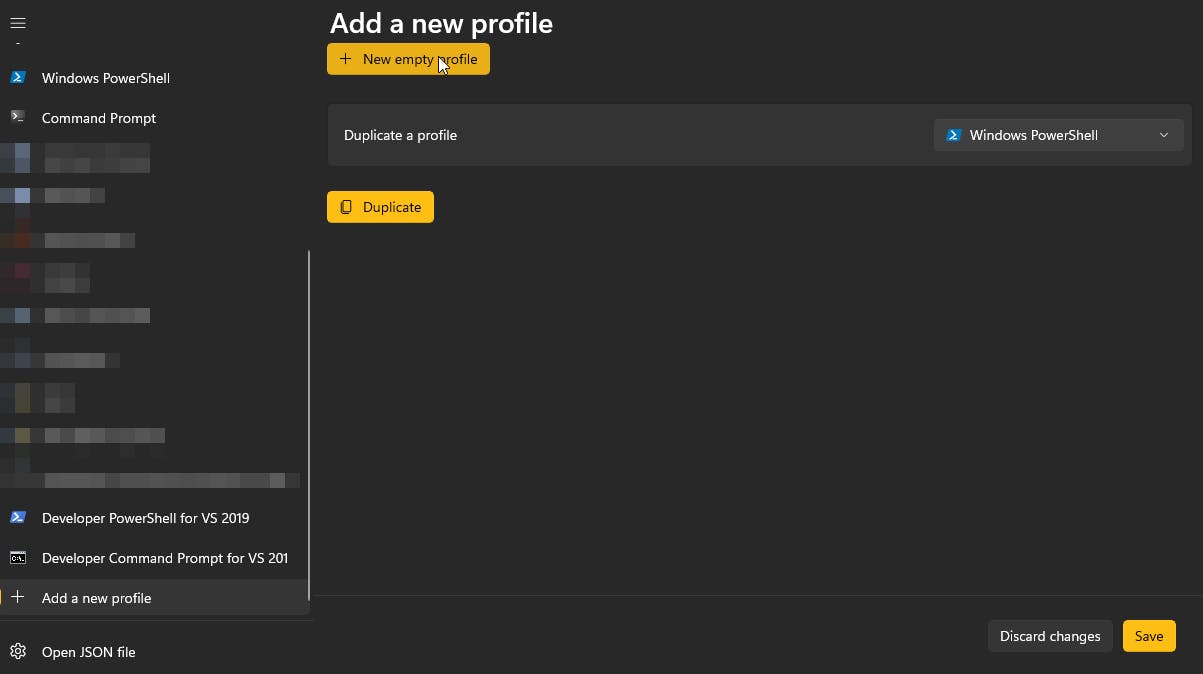
Put the tested ssh command, in the "Command line" input
ssh newUser@123.45.6.7 -p 22 -i ~/.ssh/<filename>
Here, we can also customize the icon, theme, font, etc for this profile. Remember to save it and now we can open a new terminal without having to enter username, password and hostname from the Windows Terminal dropdown.